By Estelle | HerWorkshop.co.uk
There’s something deeply satisfying about rescuing a tired piece of furniture and turning it into something you’re genuinely proud to have in your home. It’s creative, it’s sustainable, it saves money, and — honestly? It’s one of the most relaxing things I do.
I’ve got an old chest of drawers sitting in my conservatory right now that’s been waiting for its transformation. It’s my spring project, and I’m planning to repaint it, change the handles, make the drawers run smoothly, and replace the legs. I’m going to be sharing the whole thing on HerWorkshop — but in the meantime, here’s everything you need to know to do it yourself.
💬 Estelle’s note: This is literally my current project! The chest of drawers has been in the conservatory waiting for me to get started. My plan: sand it back, prime it, paint it in a deep colour (currently leaning towards a dark green or dusty blue), new ceramic handles, replace the bun feet with something more modern, and wax to finish. I’ll update this post with photos when it’s done.
What You’ll Need
Tools
- Sandpaper — 80 grit for initial sanding, 120 grit for smooth finish, 240 grit for between coats
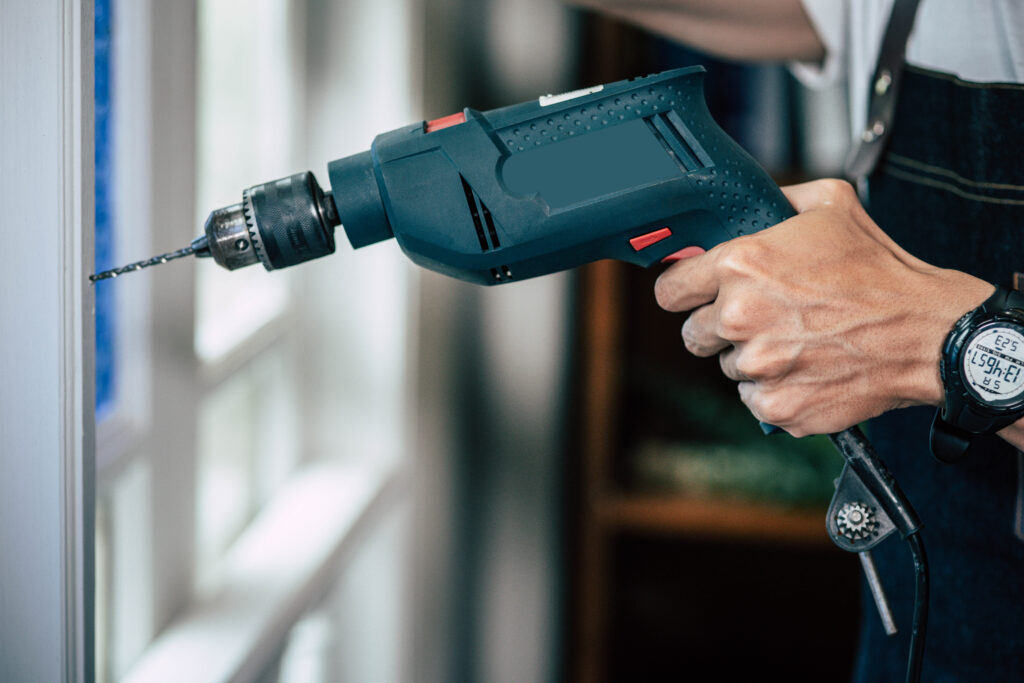
- Sanding block or electric sander — an electric sander saves hours of effort on large pieces
- Paintbrushes — good quality synthetic brushes for chalk paint; a flat brush for furniture paint
- Small roller — for large flat panels, gives a smoother finish than a brush
- Screwdriver — for removing handles and hardware
- Hot glue gun or wood glue — for any repairs
- Tack cloth or damp rag — for cleaning between coats
Materials
- Chalk paint or furniture paint — see our full guide to the best furniture paints below
- Primer (optional but recommended for glossy or laminate surfaces)
- Wax, varnish or topcoat — essential for protection and durability
- New handles or knobs — this single change has the most dramatic effect on the finished look
- Sandable wood filler — for filling any dents, holes or damage
- White spirit or TSP cleaner — for degreasing before painting
Choosing Your Paint — The Most Important Decision
The paint you choose determines the look, finish and durability of your piece. Here’s a breakdown of the main types:
Chalk Paint
The most popular choice for furniture upcycling, and for good reason. Chalk paint adheres to most surfaces with minimal preparation — in many cases you don’t need to sand or prime. It dries quickly, is easy to work with, and gives a beautiful matte finish that can be waxed for protection or distressed for a vintage look.
The brands I’d recommend:
- Rust-Oleum Chalky Finish — the most popular chalk paint in the UK, excellent value, great colour range, widely available. My top pick for beginners.
- Annie Sloan Chalk Paint — the original and still one of the best. Beautiful colours, thick coverage, no prep needed. More expensive but worth it for a special piece.
- Frenchic — hugely popular in the upcycling community. Self-priming, self-sealing, and comes in stunning colours. The Al Fresco range can even be used outdoors.
- Hemway Chalk Paint — excellent eco-friendly option, low VOC, beautiful coverage. An underrated choice.
Furniture Paint (Satin/Eggshell)
If you want a more contemporary, durable finish rather than the rustic chalk paint look, furniture paint in a satin or eggshell finish is excellent. It’s harder-wearing, easier to clean, and looks more modern.
- Little Greene Intelligent Satinwood — premium and beautiful, excellent durability.
- Farrow & Ball Estate Eggshell — gorgeous finish, expensive but worth it for a statement piece.
- Frenchic Trim Paint — more affordable, over 150 colours, self-sealing.
💬 Estelle’s note: I’ve used Rust-Oleum Chalky Finish the most — it’s reliable, affordable, and the colour range is great. For my conservatory project I’m currently deciding between Frenchic (love their colours) and Annie Sloan. I’ll update this with what I chose and how it turned out!
Step-by-Step: How to Upcycle Your Chest of Drawers
Step 1: Clean Everything Thoroughly
This is the step most people rush, and it’s the step that determines whether your paint sticks properly. Use white spirit or a TSP cleaner to degrease all surfaces. Pay attention to areas around handles where grease and oil accumulate. Allow to dry completely.
Step 2: Make Any Repairs
Fill dents, holes and scratches with wood filler. Allow to dry fully, then sand flush. If drawers stick, sand the runners lightly and rub with candle wax or furniture wax.
If drawer runners are worn or broken, now is the time to replace them. Drawer runner sets from B&Q or Screwfix are inexpensive and straightforward to fit.
Step 3: Sand
If you’re using chalk paint on a painted or bare wood surface, a light scuff sand with 120 grit is sufficient to give the paint something to grip. If you’re painting over a high-gloss or lacquered surface, sand more thoroughly with 80 grit first.
Always sand with the grain of the wood. Wipe away all dust with a tack cloth before painting.
💬 Estelle’s note: For laminate or MDF furniture (the kind that looks like wood but isn’t), sanding is more important. Give it a thorough sand with 80 grit and use a bonding primer before painting — otherwise the paint may peel off. Been there, done that.
Step 4: Prime (if needed)
If you’re using chalk paint on a properly prepared surface, you can usually skip primer. But for:
- Laminate or MDF surfaces — always prime
- Deeply coloured existing paint that might bleed through — prime with a stain-blocking primer
- Very glossy surfaces — prime after sanding
A good all-surface primer (Zinsser is excellent) solves most adhesion problems.
Step 5: Apply Your First Coat of Paint
Thin coats are better than thick ones. A thin coat dries faster, looks smoother and is easier to control. Two to three thin coats will always look better than one thick coat.
For large flat panels (drawer fronts, top, sides), a small foam roller gives the smoothest finish. Use a brush for edges and detailed areas.
Allow to dry fully between coats — at least 2 hours for chalk paint, longer in cold or damp conditions.
Step 6: Sand Between Coats
Lightly sand with 240 grit paper between coats to remove any dust nibs and brush marks. This is what gives a smooth, professional finish. Wipe away dust with a tack cloth before the next coat.
Step 7: Apply Second (and Third) Coat
Two coats is usually sufficient for good coverage. If the colour isn’t fully opaque or you can still see the previous colour bleeding through, apply a third coat.
Step 8: Seal with Wax or Topcoat
Chalk paint is not durable without a protective topcoat — it will mark and scratch easily. Apply a clear wax (Annie Sloan Clear Wax, Rust-Oleum Chalk Paint Wax, or similar) with a wax brush or lint-free cloth, working it into the surface in circular motions. Allow to cure, then buff to a soft sheen.
Alternatively, use a water-based varnish or topcoat for a more durable finish — particularly good for pieces that will get heavy use.
Step 9: Change the Handles
This single step has the most dramatic effect on the finished look. New handles can completely transform a piece from tired charity-shop find to something that looks like it belongs in a boutique. Take your time choosing — this is the fun part.
When choosing handles, measure the existing hole spacing (centre to centre) carefully. If you can match this measurement, fitting is simple. If not, you’ll need to fill and re-drill.
💬 Estelle’s note: I’m planning ceramic knobs for my chest of drawers — probably in a contrasting colour to the paint. I love the look of a dark painted piece with cream or pale ceramic knobs. Etsy is brilliant for unusual handles if you want something different from B&Q.
Step 10: Replace Legs (Optional)
Replacing the feet or legs of a piece instantly updates it. Bun feet (round wooden feet) screw directly in and are available from most hardware shops and online. Hairpin legs give a more industrial/mid-century look.
Most furniture legs screw in using a threaded bolt — check the thread size before ordering replacements.
Best Paints for Upcycling — Quick Reference
| Paint | Finish | Price | Prep Needed | Best For |
|---|---|---|---|---|
| Rust-Oleum Chalky Finish | Matte chalk | ~£12–£16/tin | Minimal | Beginners, budget projects |
| Annie Sloan Chalk Paint | Matte chalk | ~£24/tin | None | Premium look, vintage pieces |
| Frenchic Al Fresco | Matte/self-seal | ~£20/tin | None | Versatile, beautiful colours |
| Hemway Chalk Paint | Matte chalk | ~£14/tin | Minimal | Eco-conscious, great coverage |
| Frenchic Trim Paint | Satin/self-seal | ~£20/tin | Minimal | Modern, durable finish |
| Little Greene Satinwood | Satin | ~£28/tin | Sand + prime | Premium, statement pieces |
👉 Rust-Oleum Chalky Finish on Amazon — [AFFILIATE LINK PLACEHOLDER]
👉 Annie Sloan Chalk Paint on Amazon — [AFFILIATE LINK PLACEHOLDER]
👉 Frenchic Paint — check current stockists — [AFFILIATE LINK PLACEHOLDER]
👉 Zinsser Primer on Amazon — [AFFILIATE LINK PLACEHOLDER]
Frequently Asked Questions
Do I need to sand before using chalk paint?
Usually just a light scuff sand is sufficient. The exception is laminate, MDF or very glossy surfaces — these need more preparation or a primer to ensure adhesion.
How many coats of chalk paint do I need?
Usually two. Apply thin coats and allow each to dry fully. If coverage isn’t complete after two coats, apply a third.
Do I have to wax chalk paint?
Yes — chalk paint without a topcoat is not durable. It will mark and scratch easily. Always seal with wax, varnish or a clear topcoat.
Can I use chalk paint on laminate furniture?
Yes, but you need to sand well and use a bonding primer first. Chalk paint on unsanded laminate will peel. With proper preparation, the results are excellent.
How do I get a smooth finish with chalk paint?
Use a small foam roller on large flat surfaces rather than a brush. Sand lightly between coats with 240 grit paper. The smoother your application technique, the smoother the finish.
How do I make drawers run smoothly?
Rub candle wax, a wax crayon or furniture wax along the drawer runners and the edges of the drawer sides. This reduces friction significantly. For seriously sticking drawers, lightly sand the runners first.
Final Thoughts
Upcycling furniture is one of the most accessible and rewarding DIY projects you can take on. You don’t need a lot of tools, you don’t need much experience, and the transformation is dramatic.
The most important things to get right: clean thoroughly, apply thin coats, sand between layers, and always seal at the end. Get those four things right and you’ll have a piece you’re genuinely proud of.
And if you’re wondering how my conservatory project turns out — I’ll be sharing the whole before and after right here on HerWorkshop. Watch this space. 🔧
This post contains affiliate links. If you buy through my links, I may earn a small commission at no extra cost to you. I only ever recommend tools I genuinely believe in.
Have questions? Drop them in the comments below — I’m happy to help! 🔧